
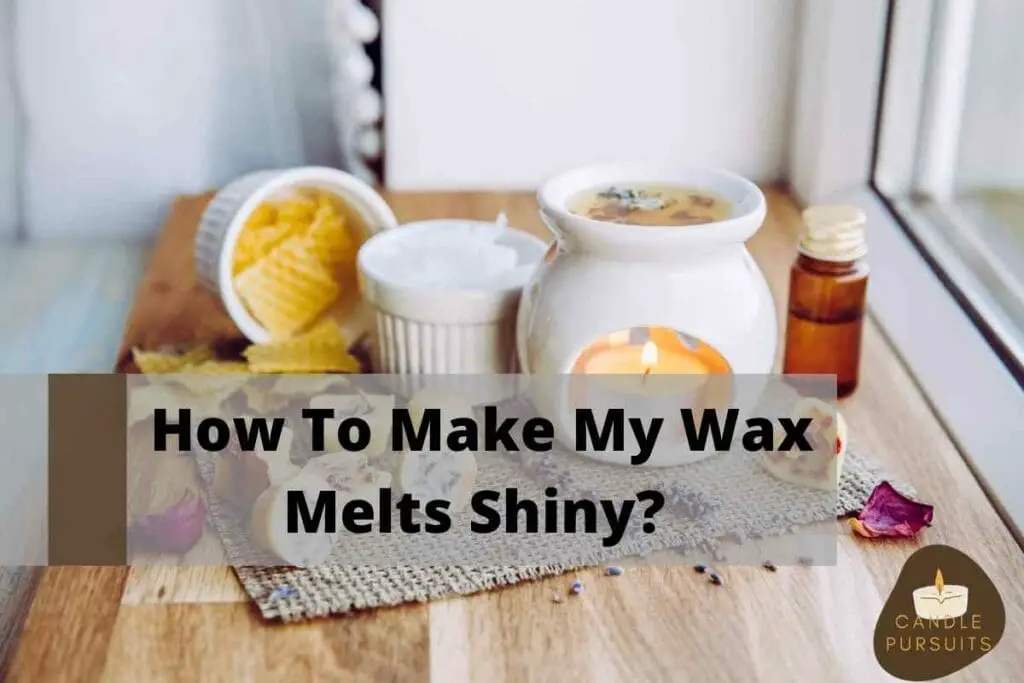
Are you tired of the same old boring white pillar candles? Do you feel like doing something about it? Maybe make your very own candles with a funky twist? But you can’t possibly make that happen with your regular wax melts. But there are a few ways in which I was able to figure out how to make my wax melts shiny.
You can use mica, which is normally used in eyeshadows and other makeup, for that sheer and shiny finish. Or you can even go ahead with glitter for a more vivid outlook. The mold that you use should also be clean and free of contaminants so that the result does not look cheap and dirty.
Before we move onto the razzle-dazzle phase of the wax melts, it’s important to know what kind of molds you’ll be using. Using the right color is also extremely important as that will highlight the shine of your wax melts.
Most importantly, the type of wax you’re using plays a huge role as well. This is why I’ve put together a few different ways for you to make your wax melts shiny.
How To Make Wax Melts Shiny?
To make shiny wax melts, it’s crucial to use the right type of mold, temperature, and wax. Even though it’s possible to use many different types of wax, I prefer to use soy wax. But you can also use paraffin wax. What matters is the result and that glossy finish that you want to achieve.
Before we move on to the step-by-step procedure, you must know a bit more details about the ingredients that you will be using for your wax melts. If they are not up to par, your finished product will not live up to your standards.
And what’s the point of even going through this rigorous process if the foundation of the whole thing falls short. Thus, let’s learn a bit more about the ingredients.
Molds
As I previously mentioned, mold needs to be clean and free of any contaminants. There was a past incident when I ended up forgetting to clean my wax molds after the first batch. And the result was clumps of discolored candles that had to be thrown out anyway. So, if you don’t get your molds right, you might just end up throwing out the whole thing.
And it’s difficult to talk about the molds without bringing in the issue of temperature. We will have a longer discussion about that in the next point. But you need to know that there are chances of your molds melting if the temperature of the wax melts is too high. And if that happens, the wax melts would just leak out and get wasted.
Temperature
Just because there are chances of the mold melting because of the hot wax, it doesn’t mean that you shouldn’t use hot wax. There is a positive correlation between the temperature of the wax and the shine of the wax melts.
This means that if you pour wax at a high temperature, and it cools off fast, the results will be a shinier finish. Just make sure you allow your wax to cool down evenly.
Shiny Wax Melts With Mica Powder
Mica is more commonly used in the makeup industry. Mainly for the eyeshadows. It helps in providing that pearlescent sheen. You will also find it in many other makeup products. Even though there are controversies and ethical issues surrounding its usage, mica continues to be used profoundly in many brands and makeup products.
These days, micas are quite popular in the candle industry as well. It acts as a natural alternative to coloring waxes. When deciding on the amount, use only 5% for that shimmering effect. As they come in stunning natural colors, you don’t have to use any added dye after using mica powder.
In this way, the results will look even shinier. So, let’s see how we can make wax melts using mica powder.
- Select the type of wax
For this wax melt, we’ll be using 80 grams of EcoSoya melt wax for each of the molds. Soy wax is great for the environment and healthier for your lungs as it does not emit any harmful substances into the atmosphere.
- Fill your bowl with boiling water
Once you have your wax ready, just get a normal steel bowl lying around the kitchen and fill it with boiling hot water. You can use that to melt your wax on top of it using another bowl. Use medium to low heat and stir until all the wax has melted.
- Take the melted wax off the heat
As the wax has melted, turn the heat off. Then just pour the melted wax into a jar. Make sure that the jar is strong enough so that it does not melt when the wax is being poured
- Add a dye (Optional)
You can choose to add color to your wax melts. You may use chips dyes to achieve different shades of the color that you desire.
- Let your wax cool down
You can also add fragrance to your wax melts. But before you do so, you must let your wax cool to 65 degrees before you decide to add them.
- Add mica powder
Now we’ve arrived at the most important part. This portion is significant if you want to achieve a shiny wax melt. The mica will help to give the whole wax melt a shinier tone. You may use it in itself. Or you can also incorporate it with the color that you desire.
- Shiny wax melts
Now you have your shiny wax melts which you can put in a variety of molds. But make sure that you don’t go overboard with the temperature. Remember what we previously said about keeping the right temperature so that there are no mishaps with the final result.
Shiny And Glittery Wax Melts
Glitter helps to bring a shimmer to your wax melts. It gives it more fun and glamorous look. Now the procedure for this is similar to the mica powder so we can just skip the whole process and target the important bits
Preparing your molds and adding fragrance is practically the same as the previous one. But the change comes at the very end. While the mica powder shiny wax melts, we dump the whole mixture into our molds. We’ll do the same here as well. But before doing so, we need to make sure that we ‘glitter up’ our molds.
You’ll be able to find many glitters which are specific to candles. What you need to do here is sprinkle a pinch of glitter onto the molds. Then you can proceed to pour in the wax melts. This way, the glitters will be visible on the exterior of the candle.
Now all you have to do is wait for it to set so that you can pop it out of the molds and start using them properly.
Conclusion
Having arrived at the end of the article, I’m sure now you know in what ways I managed to figure out how to make my wax melts shiny. It took some effort but at the end of the day, it was worth it as I could see the final results literally shining in front of my eyes.
And if you follow the same procedure, you’ll also be able to make your wax melts shiny.
Thank you for giving the article a read. I had a great time detailing all the steps and I hope you’ll be able to follow them diligently. Good luck and have a great day!