
Although candle-making is an art that’s thoroughly rewarding, it does come with its own set of challenges. If you’ve ever tried to make your own candles, you know that one of the most frustrating things that can happen is when your wax starts to pull away from the wick.
It’s almost like the wax is trying to get as far away from the heat source as possible! But why does this happen?
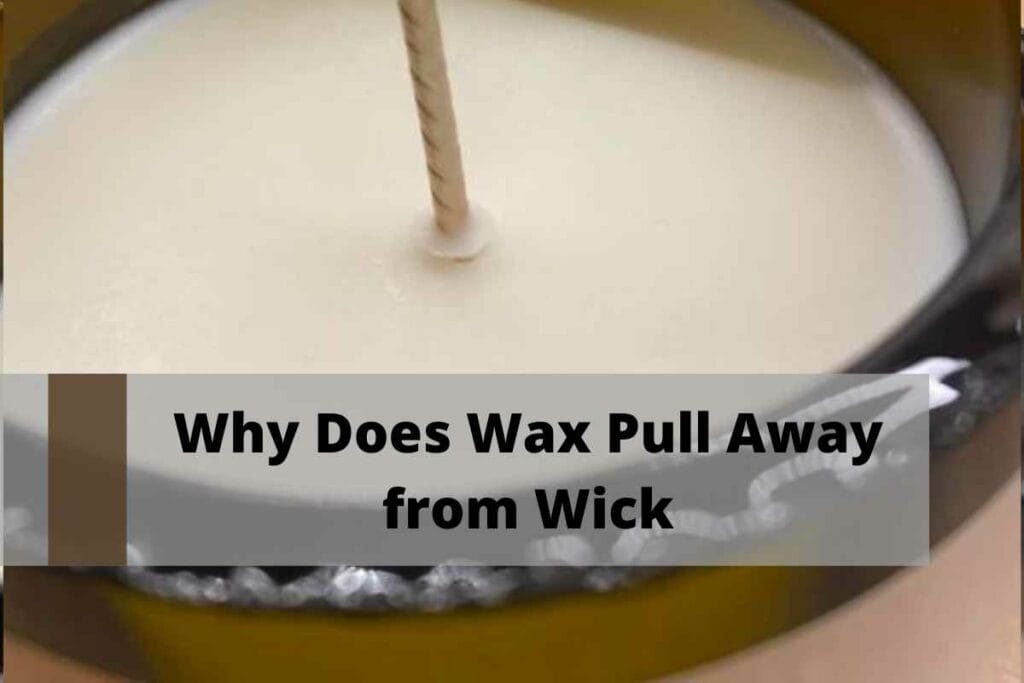
The reason why wax pulls away from wick is due to a phenomenon called shrinkage. When wax is heated, it expands and takes up more space. But as soon as it starts to cool, it contracts. Most new candle makers make the mistake of allowing the wax to cool down too quickly, which causes it to contract and pull away from the wick, thus creating a sinkhole at the center of the candle.
The good news – this problem can be easily fixed with very minimal effort. And we’ll show you exactly how to do that in this post! We’ll also take you through some other common candle-making problems and how to solve them. So get your reading glasses on, and let’s get started!
How to Fix Wax Pulling Away from Wick?
There are two ways to fix this problem – by using a heat gun, or by doing a second pour. Let’s take a look at each method in more detail.
Method #01: Use A Heat Gun
If you have a heat gun, this is probably the quickest and easiest way to fix your problem. Turn the heat gun on low and hold it about 12 inches away from the surface of the candle. Slowly move the heat gun around the circumference of the candle, taking care not to overheat any one area for too long.
As you do this, you’ll notice that the wax will start to melt and become liquid again. Once the wax has melted evenly around the entire candle, allow it to cool and harden before trimming the wick and relighting the candle.
Method #02: Do A Second Pour
If you don’t have a heat gun, or if you want to avoid using one altogether, you can do a second pour. This method is a bit more time-consuming, and we recommend it to be used only if the wax has pulled very far away from the wick.
To do a second pour, you’ll need to melt down some more wax. Once the wax has melted, carefully pour it into the candle, filling up the sinkhole until it’s level with the rest of the wax. Allow the wax to cool and you should be good to go!
How to Prevent the Wax from Pulling Away While Cooling?
As the age-old adage goes – Prevention is better than cure. And that’s certainly true when it comes to candle-making! If you want to avoid having your wax pull away from the wick during the initial cooling process, there are a few things you can do.
- Ensure that the container you’re using is not too cold: If the container is too cold, it will cause the wax to cool down too quickly and contract. We recommend using a room-temperature container, or even slightly warmed if possible.
- Tap the container lightly after pouring wax: Once you’ve poured the wax into the container, give it a few taps on the counter. This will help to release any air bubbles that might be trapped inside, thus allowing for even cooling.
- Poke a few relief holes into the wax: If you’re using a mold, it’s a good idea to poke a few relief holes into the wax. This will allow any air bubbles that might be trapped inside to escape.
- Keep freshly poured candles apart: If you’re making more than one candle at a time, make sure to keep them apart while they’re cooling. This will prevent the heat from one candle from affecting the others and causing them to cool unevenly.
With these tips in mind, you’ll never have to worry about your wax pulling away from the wick again! So go ahead and give them a try the next time you’re making candles.
Most Common Candle Making Mistakes and How to Avoid Them
Along with wax pulling away from the wick, there are a few other common candle-making mistakes that newbies often make. In this section, we’ll take you through some of the most common mistakes and how to avoid them.
1) Flickering Candles
It’s so devastating when you’ve just made a beautiful candle, only to have it start flickering and smoking when you light it. But don’t worry – this problem can be easily fixed! The most common cause of flickering candles is a wick that’s too big.
When the wick is too big, it doesn’t draw up enough wax in time to feed the high heat of the flame, which then causes the flame to start smoking and flickering. The solution is simple – just trim the wick down to about ¼ inch before lighting the candle. This will keep your candle burning bright and steady.
2) Tunneling
Tunneling is when the candle burns down the middle, leaving a layer of unmelted wax around the edges of the jar. When this happens, it usually means that your wick size is too small.
The solution is to choose a wick that’s slightly bigger (around 1 or 2 sizes) the next time you make candles. This will help the flame to evenly melt the wax around the entire circumference of the jar, preventing tunneling.
3) Mushrooming
Mushrooming is when the wick starts to balloon out at the top due to carbon buildup, creating a mushroom-like shape. This usually happens due to three reasons:
- Not trimming your wick: As we mentioned before, it’s important to trim your wick to ¼ inch before each use. If you don’t, the carbon buildup will eventually cause the wick to mushroom.
- Wick is too large: If the wick is too big, it will create a large flame that will deposit a lot of soot on the inside of the jar. This soot will then be drawn up by the wick, causing it to mushroom. Use a smaller wick.
- Burning your candles for too long: We recommend burning your candles for no more than four hours at a time (without blowing them out in between). If you burn them any longer, soot accumulates on the wick and ruins it for future use.
4) Cracked Candles
Nobody likes a cracked candle! And the reason it happens is that either your wax cooled down too quickly or it came in contact with cold water while it was still hot.
The best way to avoid cracked candles is to pour the wax into room-temperature containers and stir gently while it cools. And of course, make sure that you don’t splash any water on it during the cooling process!
5) Poor Scent Throw
When you make a scented candle, you want it to smell nice when you light it – not just when you first open the jar. But sometimes, candles can lose their scent throw after a few uses.
More often than not, the issue is with the amount and quality of the fragrance oil you’re using. If you’re not using enough, the scent will be weak. And if you’re using a poor-quality fragrance oil, it will quickly evaporate and disappear.
The solution is to use a high-quality fragrance oil and make sure to use the correct amount for your wax type. You should also ensure that you’re adding the fragrance at the right temperature – too hot and it will evaporate, too cold and it won’t bind to the wax correctly.
Final Thoughts
We hope this article has helped you identify some of the most common candle-making problems and how to fix them (or prevent them altogether in some cases!)
Remember, candle making is not just an art, but also a journey into science. There are so many different factors that can affect the outcome of your candles. But by understanding the chemistry behind it, you can avoid making such common mistakes and produce beautiful, high-quality candles that will give you hours of enjoyment.