
Lighting and enjoying a scented candle might sound pretty simple. But for many people who are lighting a candle in a jar for the first time, it is not uncommon to think: why is my candle tunneling on the first burn? Candles can sometimes come with a little defect. And other times, you have to know the steps to burn your candle the first time.
When candles in jars are lit, they can burn unevenly because of the size of the wick. If the wick is too small, there is a high chance the candle will tunnel when you light it up. Besides that, there are also things you can do to make sure the wax burns properly and the candle works.
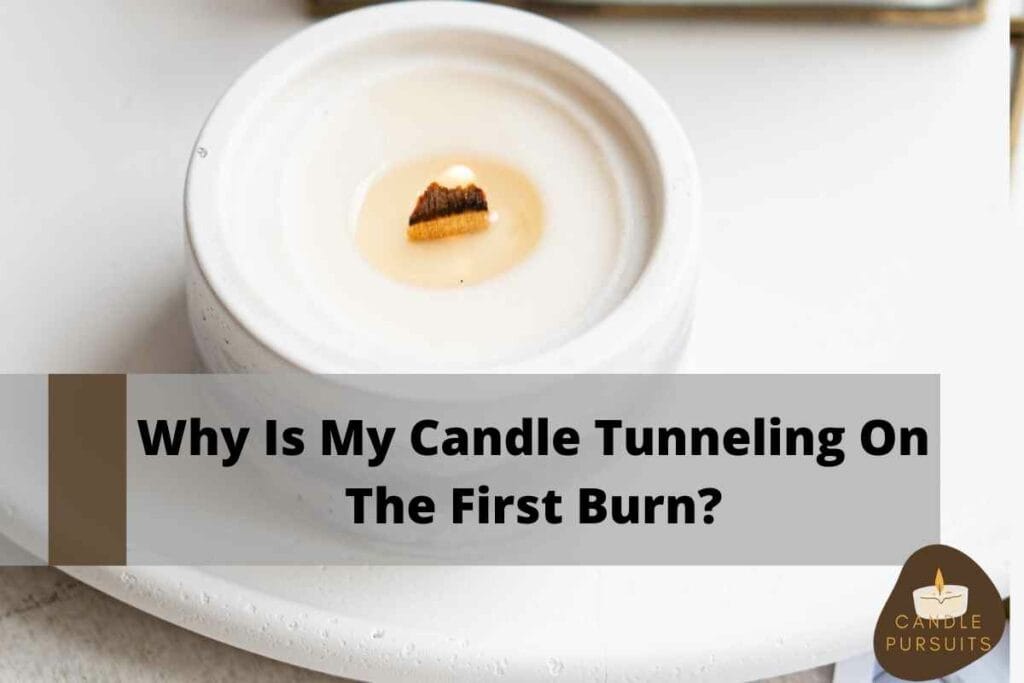
Tunneling is when only the wax around the wick melts first and forms a small tunnel in your candle jar. Because of the heat from the wick not getting enough time to burn the surface, this can happen a lot.
Why Do Candles Tunnel?
Needless to say that a candle should burn evenly from the surface. But for a lot of first-time jar candle users, this does not happen. This can happen to any candle that comes in a container. Here are reasons why it happens.
Too Small Wick Size
When you light up the wick of the candle, it starts spreading heat around the surface of the candle. With enough time for the wick to burn, the top of the candle melts slowly across the surface of the jar. This is why the size of the wick is an important factor.
If the length is too short, the wax will start to melt only around the wick. So, a lot of the wax that is closer to the jar will remain hard and unusable. In bigger candles, you can lose a lot of wax that sticks to the jar, and the wick will burn down to the bottom unless you can fix it fast.
Not Enough Curing
Curing allows the fragrance to evenly spread out into the wax. Not curing long enough will cause different parts of the candle to have different compositions. This means some parts will melt faster than others. This is also a cause for candle tunneling.
Too Short First Burn
The first is very important for your candles. Even companies like Yankee Candle have said that burning your candle for the first time for a specific duration can prevent tunneling. You should burn your candle for at least 1 hour for every inch when you first bring one home.
Some Candle Tunnel At First
Different brands use different formulas to make their candles. So, some are more prone to tunneling than others. But, even these candles get fixed as you burn them more and more. So, if you see tunneling, try burning for a while and see if they get fixed by themselves.
How Can You Fix Your Tunneling Candle?
So your candle has already started tunneling. There are a couple of methods you can use to make sure it does not tunnel anymore. Now, you can use two general methods to do this: using a hairdryer and using aluminum foil.
The main objective of fixing your tunnel should be to melt the wax around the tunnel you have at hand. No matter how deep your tunnel has gotten, you can fix it by melting the wax around it and creating an even surface in the container. So, here is how you can do it.
Using a Hair Dryer
Using a hairdryer is the easiest method to fix a tunneling candle. All you need is your hairdryer, a pair of scissors, and your regular-use hairdryer.
Step 1
Take your scissors and trim away the burnt wick. Make sure there are no bits or pieces inside the candle container.
Step 2
Take your hairdryer, and set the candle down in a way that the heat from the dryer can hit all areas of the container’s surface evenly. If the candle is too big, move the hairdryer evenly around all the surface space.
Step 3
Turn the dryer on to the highest setting and keep melting the wax slowly. If the hard wax is still sticking to the jar, take a toothpick or small stick to get it off the jar and into the melted pile of wax.
Step 4
When it looks like the wax on the surface of the container is all the same consistency, turn off your hairdryer. Make sure the surface is plain and smooth.
Step 5
Light your candle up again. This time, as the candle burns, keep a lookout for the wax. If possible, take the candle in your hand and move it around so the liquid wax can spread out on the surface. This can help the surface burn evenly. Let the candle burn for at least half an hour.
Step 6
Leave the candle to harden over the next couple of days completely. If the wax is paraffin, it can take two days. And in the case of soy or coconut wax, it can take longer, up to two weeks, for it to harden.
Using Aluminum Foil
When you use aluminum foil, you have to create a tent-like structure on your candle. Have your foil, candle, and lighter ready. Here is how to do it.
Step 1
Cut off the burnt wick and make sure there are no bits and pieces inside the container.
Step 2
Take some of the aluminum foil and form a cone-like structure by rolling a sheet of it. Make sure the opening of the cone is around the size of your candle container. This will allow the heat inside to reflect into the candle wax.
Step 3
Keep a small opening on top of the foil cone for the wick to come out of. If the wick is too small for the cone, putting a plain sheet of foil on the container’s surface will be enough. Just make sure the wick can come out of it.
Step 4
Remove the foil to light the wick. Light the wick, and place the foil on it again. Let the candle burn for a couple of hours. Once you can see that the surface of the candle has become evenly smooth, you can put the fire out.
Step 5
Let the candle rest and harden for the next few days. For paraffin, two days is enough. And for soy and coconut wax, it can take at least two weeks.
How You Can Prevent Candles from Tunneling?
You can prevent your candle from tunneling by making sure that it burns properly the first time you light it up. To do this, you would have to burn your candle for at least a couple of hours. Look out for the surface wax to even out to the edges of the container. If it does not, you have to take the candle and rotate the container so the wax can be spread evenly.
A pro tip is to always burn new candles in the daytime. This is because it gives you enough time to make sure the candle has done its first burn correctly and prevents any chances of it tunneling. The specific time you would need to burn your candles for the first time will depend on the candle’s width.
No matter how long you have to burn it, keep checking on it occasionally. Every half-hour, make sure that the layer of wax on top is even. With this, you can give your candle the best chance to burn properly and for a long time.
Also, make sure that your wick size is suitable for your candle size. You can use the following formula to figure out which wick size is right for you.
Wick Size = Diameter Of The Candle ÷ Number Of Wicks
Conclusion
Why is my candle tunneling on the first burn? Well, now you know that there can be a couple of reasons. Even though it is easy to fix a tunneling candle, make sure you know how to prevent any chances anyway.
This can save you a lot of time and effort, and give you a better experience with your candle.