
There’s just something about beeswax candles that just makes them so much more luxurious than other candles. The smell of honeyed sweetness wafting from the light, the silky texture of the wax against your skin, and that soft, golden otherworldly glow as they burn.
They really are the crème de la crème of candles. If you’ve ever dreamed about making your own beeswax candles, the first thing you need to know is how much wax to use.
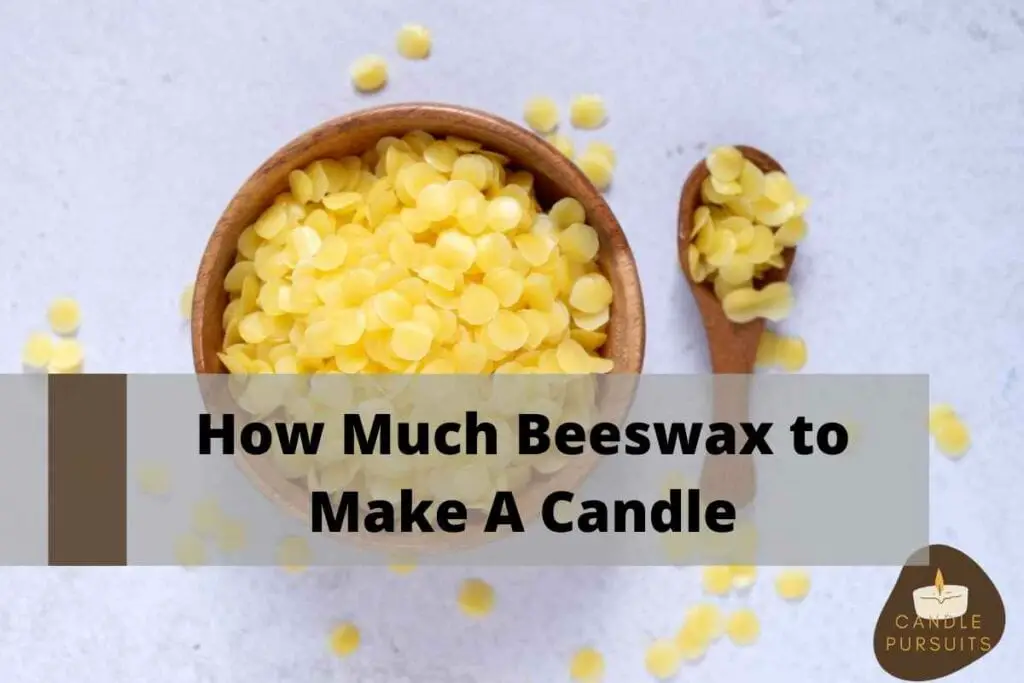
A pound of beeswax can make around 24 ounces of liquid wax, with which you can make two 12-ounce candles, three 8-ounce candles, or six 4-ounce candles. The amount of beeswax you use will, of course, affect how long they’ll burn – a 12-ounce candle will give you 60+ hours of light, while a four-ounce candle will only burn for around 20 hours.
In this post, we’ll give you a step-by-step guide to making your own beeswax candles, from choosing the right type of wax to adding in extra ingredients like essential oils. By the end, you’ll surely be able to make candles that rival even the most expensive store-bought ones. Let’s get started!
What Exactly Is Beeswax?
First things first – what exactly is beeswax, and why is it so special? Well, as you might have guessed from the name, it’s a wax that’s produced by bees. More specifically, it comes from the honeycomb of honeybees.
Bees use beeswax to build their hives – they secrete it from their abdomens and then use their mouths to shape it into hexagonal cells, which is where they store their honey and raise their young. Beeswax is made up of around 300 different compounds and it’s this complex mix of chemicals that gives beeswax its distinctively sweet smell.
Fun Fact – Beeswax is one of the oldest known materials used by humans, going back all the way to the Stone Age. We’ve found evidence of beeswax in wrecked Viking ships, amongst the ruins of ancient civilizations, and even in the tombs of Egyptian mummies!
How Can I Make My Own Beeswax Candles?
Now that you know a bit more about beeswax, let’s move on to the fun part – how to make your own beeswax candles!
What You’ll Need:
- Beeswax (One pound): Try to source it from your local beekeepers if you can, as it’s better for the environment and you’ll be supporting a good cause. If not, you can also find it online or in craft stores.
- Metal Container: Use an old coffee can or pot that you don’t mind ruining (as it will get ruined!). Beeswax is notoriously difficult to clean off.
- Large Pot: This is the pot we’ll be using as our double-broiler. Make sure it’s large enough so that you’ll be able to fit your container inside.
- Mason Jar: This is what we’ll be using to hold our finished candles. You can use any size or shape of jar you want – it’s your choice!
- Candle Wick: The best option is to go with a cotton square-braided wick. You can find these in any candle supply store.
- 1/2 Cup Coconut Oil: This is optional, but it makes your beeswax candles burn longer and more consistently. It will also prevent tunneling, which is when the wax in the middle of the candle melts faster than the edges.
Instructions:
Step 1: Add water to your large pot and turn it up to medium heat. You’ll want enough water so that it comes up at least an inch or two up the sides of your container.
Step 2: Cut your beeswax into small pieces and place it in the metal container. Now place this container into the pot of water, making sure that it doesn’t touch the bottom. We want the wax to melt from the heat of the water, and not the pot. This is your double-broiler!
Step 3: Keep stirring the wax until it’s completely melted. This will take around 15-30 minutes. Do not leave it unattended.
Step 4: Once all the wax has melted, remove it from the heat. Now you can add in the coconut oil and stir until it’s completely combined. You can also add any essential oils at this point if you want your candles to have a specific fragrance. We usually prefer the natural, honey-like scent of beeswax, but it’s up to you!
Step 5: Attach the wick to the bottom of your Mason jar with a little glue, and then pour in the melted beeswax. Make sure the wick is centered, and then let the wax cool and harden for at least a few hours.
Step 6: Once your candle is completely cooled and hardened, trim the wick to around ½ an inch. This will help it burn more evenly.
And that’s it! You’ve now made your very own beeswax candle. Enjoy the warm, honey-like smell and the beautiful, natural light it emits. Once you’ve made your first successful beeswax candle, you’ll surely be looking to make the next one as well!
5 Reasons Why Beeswax Is the Best Option for Candles
Nowadays, there are tons of different waxes to choose from – soy, paraffin, palm, gel, coconut, and the list goes on. But beeswax still remains the undisputed king of candle waxes. Here are just a few reasons why:
- 100% All Natural and Pure:
Unlike other waxes, beeswax is completely natural and pure. It comes straight from the honeycomb and doesn’t require any harsh chemicals or processing to extract it. This makes it better for you, better for the environment, and better for the bees!
- Purifies the Air:
It is said that when beeswax is burnt, it releases negative ions into the air. These ions attach themselves to positively charged particles like dust, pollen, and toxins. This effectively purifies the air, increases energy levels, and even reduces stress.
- Burns Clean and Slow:
Beeswax candles burn clean and slow, meaning they produce very little soot. This makes them much better for your lungs (and for the environment), and they also last a lot longer than your typical paraffin candle. They also don’t drip as much due to their high density, so you won’t have to worry about wax ruining your furniture.
- Unique Scent Depending on Location:
As you know, bees pollinate flowers as they collect nectar to make honey. This means that the beeswax from different hives can take on the unique scent of the flowers in that area. For e.g. if you sourced your beeswax from near a strawberry field, your candles might have a subtle strawberry scent! Similarly, you can find beeswax that’s been naturally infused with the scent of wildflowers, herbs, citrus, and more!
- Does Not Expire:
Do you know that we still have beeswax candles that were made during the 6th and 7th centuries? And they burn just as well today as they did back then! This is because, unlike other waxes, beeswax does not go bad or expire. It’s the perfect material for long-lasting candles. Who knows, the beeswax candles you make today could possibly be around for a future civilization to use!
Final Thoughts
After reading through this article, chances are that you’re inspired to give beeswax candles a try. We encourage you to do so – they really are the best candles out there! Not only do they smell amazing and burn clean and slow, but they also have tons of health benefits.
And don’t forget, when you’re using beeswax candles, you’re also making the environment a little bit healthier. So light one up today and let the warm, relaxing, and purifying effects of beeswax fill your home!